
Snowy Landscape Gouache Walk-through
I love sharing the time-lapse videos of the little gouache landscapes, but there’s not a whole lot of meat to them if you are looking for information on how to go about painting a gouache landscape yourself. So I thought I would do a walk-through of sorts for my latest snowy gouache landscape, and hopefully share some tips for breaking down these sorts of small landscapes.

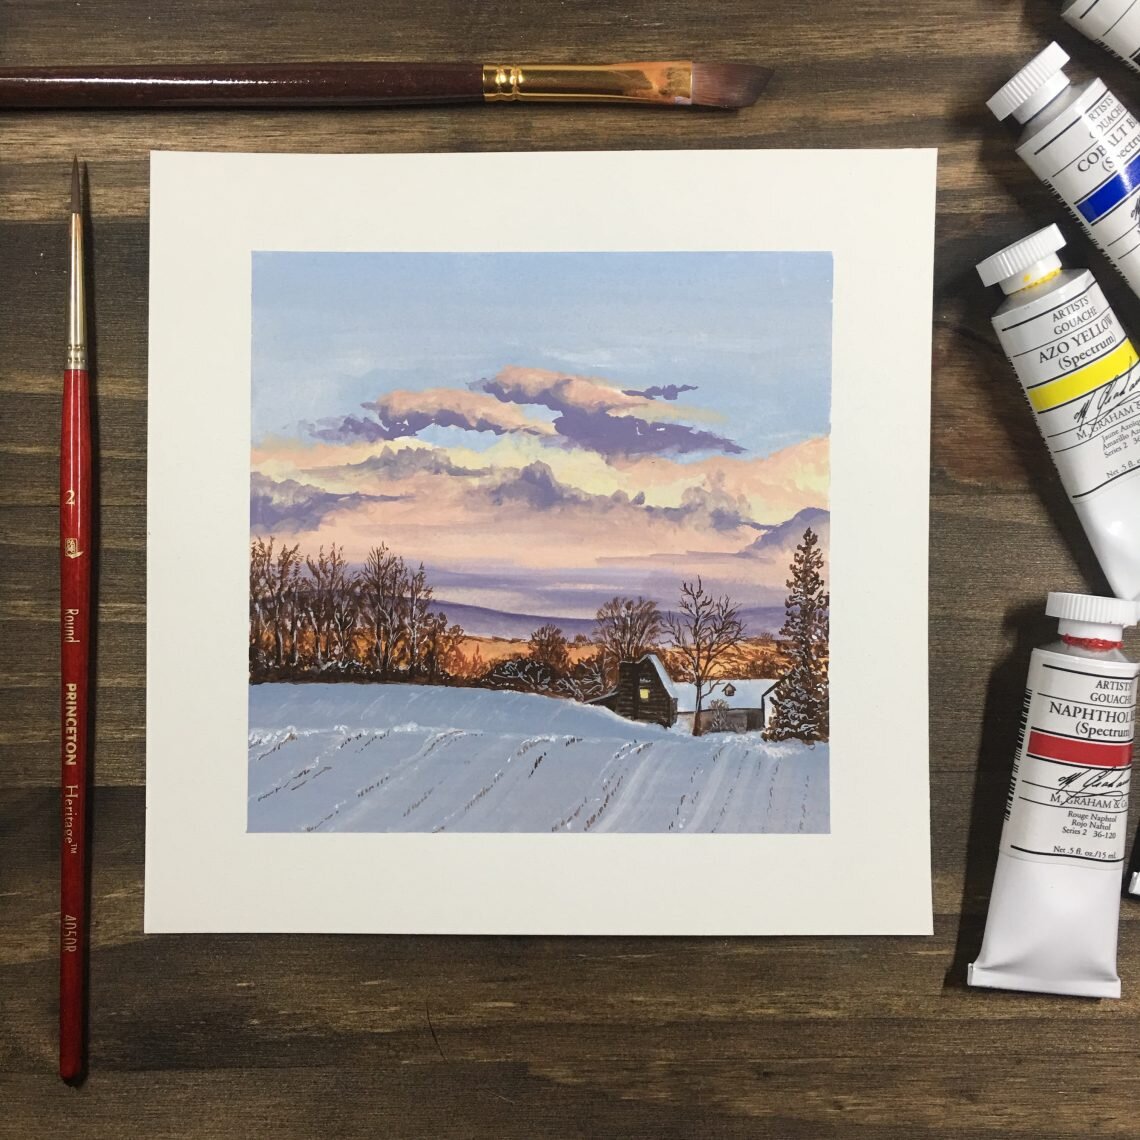
The beautiful reference photo for this landscape is from Pixabay, taken by MarkMartins, and as I was scrolling through, the striking orange and blue colors in this landscape caught my eye. As opposites on the color wheel, orange and blue are complimentary colors and a great choice for an impactful color scheme.

Photo by MarkMartins from Pixabay
I like painting the landscapes in squares so the first thing I did was to crop the photograph. I just do this on my phone, using its handy thirds grid to crop the photo into a pleasing layout.
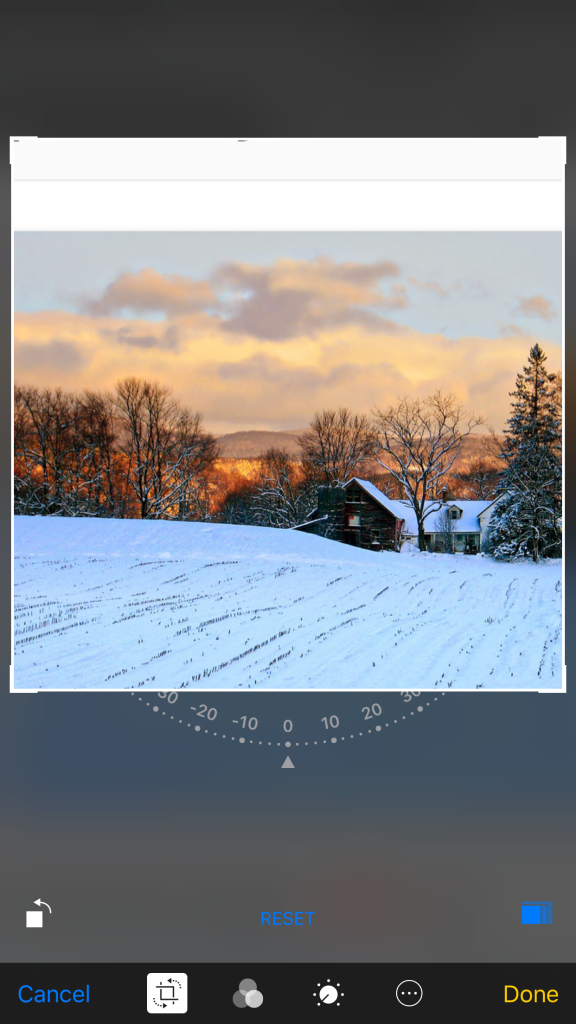
As you can see, I cropped out a lot of the snowy foreground, placing the house roughly 1/3 of the way up the photo, making it a little short for my square crop. The clouds make the sky quite busy, so I figured a little more blue sky added to the top would give the eyes a rest.
Planning
Before I start painting, I like to look over the photo and break it down into layers in order to establish a painting order.

In this case I determined that I would paint in the following order;
Blue sky
Clouds
Distant hills
Sunlit pasture
Snowy foreground
House & tree line
One thing that I did note early on is that I didn’t want to paint the snow over any other layers, to keep the color crisp. So whilst I did paint in this order, I lightly penciled in a line where my bright orange should stop around the roof of the house, but we’ll get to that in a moment.
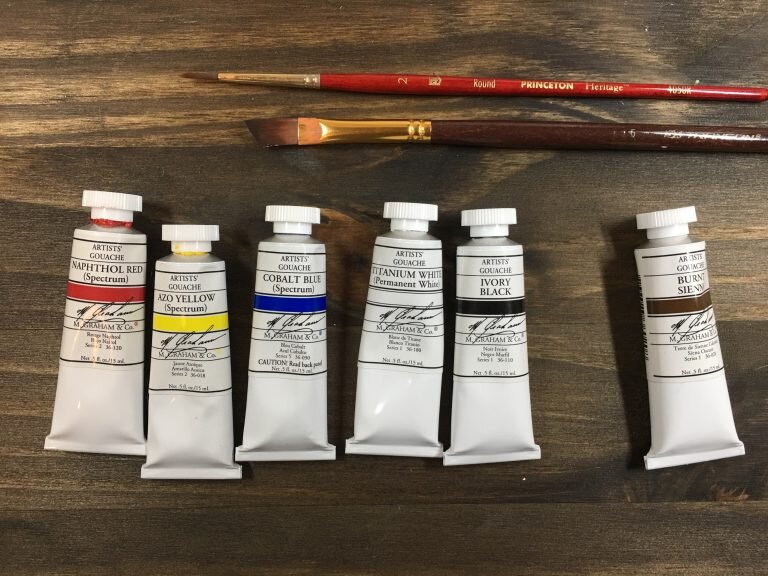
Paints & Brushes
I recently bought a mixing set of M. Graham gouache paints that I have been using to paint these small landscapes. The colors in the set are Napthol Red, Azo Yellow, Cobalt Blue, Titanium White and Ivory Black. I also used a little Burnt Sienna mixed with a little red for a rich red-brown that I used for the trees and house.
Working from a mixing set is a great way to improve your color mixing abilities. It can also help unify the colors in your painting, because they all belong to the same color wheel.
The brushes I have been using are a small angled flat brush and a small round for tiny details, although it always amazes me at just how much detail you can paint with a flat brush!
Painting
Skies are a great exercise in painting what you see. I like to roughly paint around the clouds with my sky color, then ’tile’ the colors that I can see, placing them side by side, before blending where I want to soften any edges. I add cloud highlights last.

Clouds will drive you crazy if you let them so I tend to just concentrate on the overall impression of the sky, rather than trying to capture every detail.

I wanted to emphasize the purple in the shadows of the clouds and used this same color for the distant hills. I let the hill color soften towards the bottom. Once the orange layer is painted in, the fade in the purple helps to give the impression of distance.

The sunlit pasture is a bright, warm orange. I added only a tiny touch of white to my orange as I wanted it to remain nice and vibrant. White quickly takes the punch out of warm colors, so use sparingly if you are looking for bright yellows, oranges and reds in a painting.

I penciled in the outline of the foreground snow and the top of the roof before blocking in the bright orange and shadowed snow color.

I added a few small scruffy details in a darker orange over the sunlit pasture to pick out some shadowy areas or darker clusters of trees. I mostly concentrated on spots where it wouldn’t be completely covered by the foreground trees.

The dark wood siding of the house came next, and I used an even darker shade to pick out the shadows down the side of the chimney and to indicate the horizontal boards on the house.

I used a dark red-brown to paint in the trees, paying attention to the variety of shapes and heights, and how they are clustered along the tree line. For lots of tiny little branch shapes I splay the end of my brush by squeezing it between my thumb and index finger.
I try to be mindful of where light makes it through the trees, and block in areas that I know would remain dark- such as the bottom of the large tree against the house on the right, and areas where the trees and bushes are the thickest.

Snow details are the last thing I paint, picking out the roof outline, chimney top and lean-to. I also tidy around the base of the house and tree and begin to pick out the shapes in the snowy foreground. It looks like the last mow left stripes in the grass and some longer blades poke through so I add these too.

Finally I add the snow that has stuck to the trees. This helps to give shape to some of the dark ‘tree blobs’ and adds to the chilly atmosphere.
If you’ve made it this far, I hope you enjoyed seeing how I went about painting this snowy landscape. There’s a lot of stuff going on in landscapes, so they are often quite intimidating. Breaking them down into smaller layers really helps to cut down on the overwhelm.
If you are going to have a go at painting a landscape, give yourself the best chance for success by picking the right reference photo to work from. You can read my best tips for choosing a photo here, or check out my full 1 Hour Landscapes Gouache Guide here.
Happy painting!
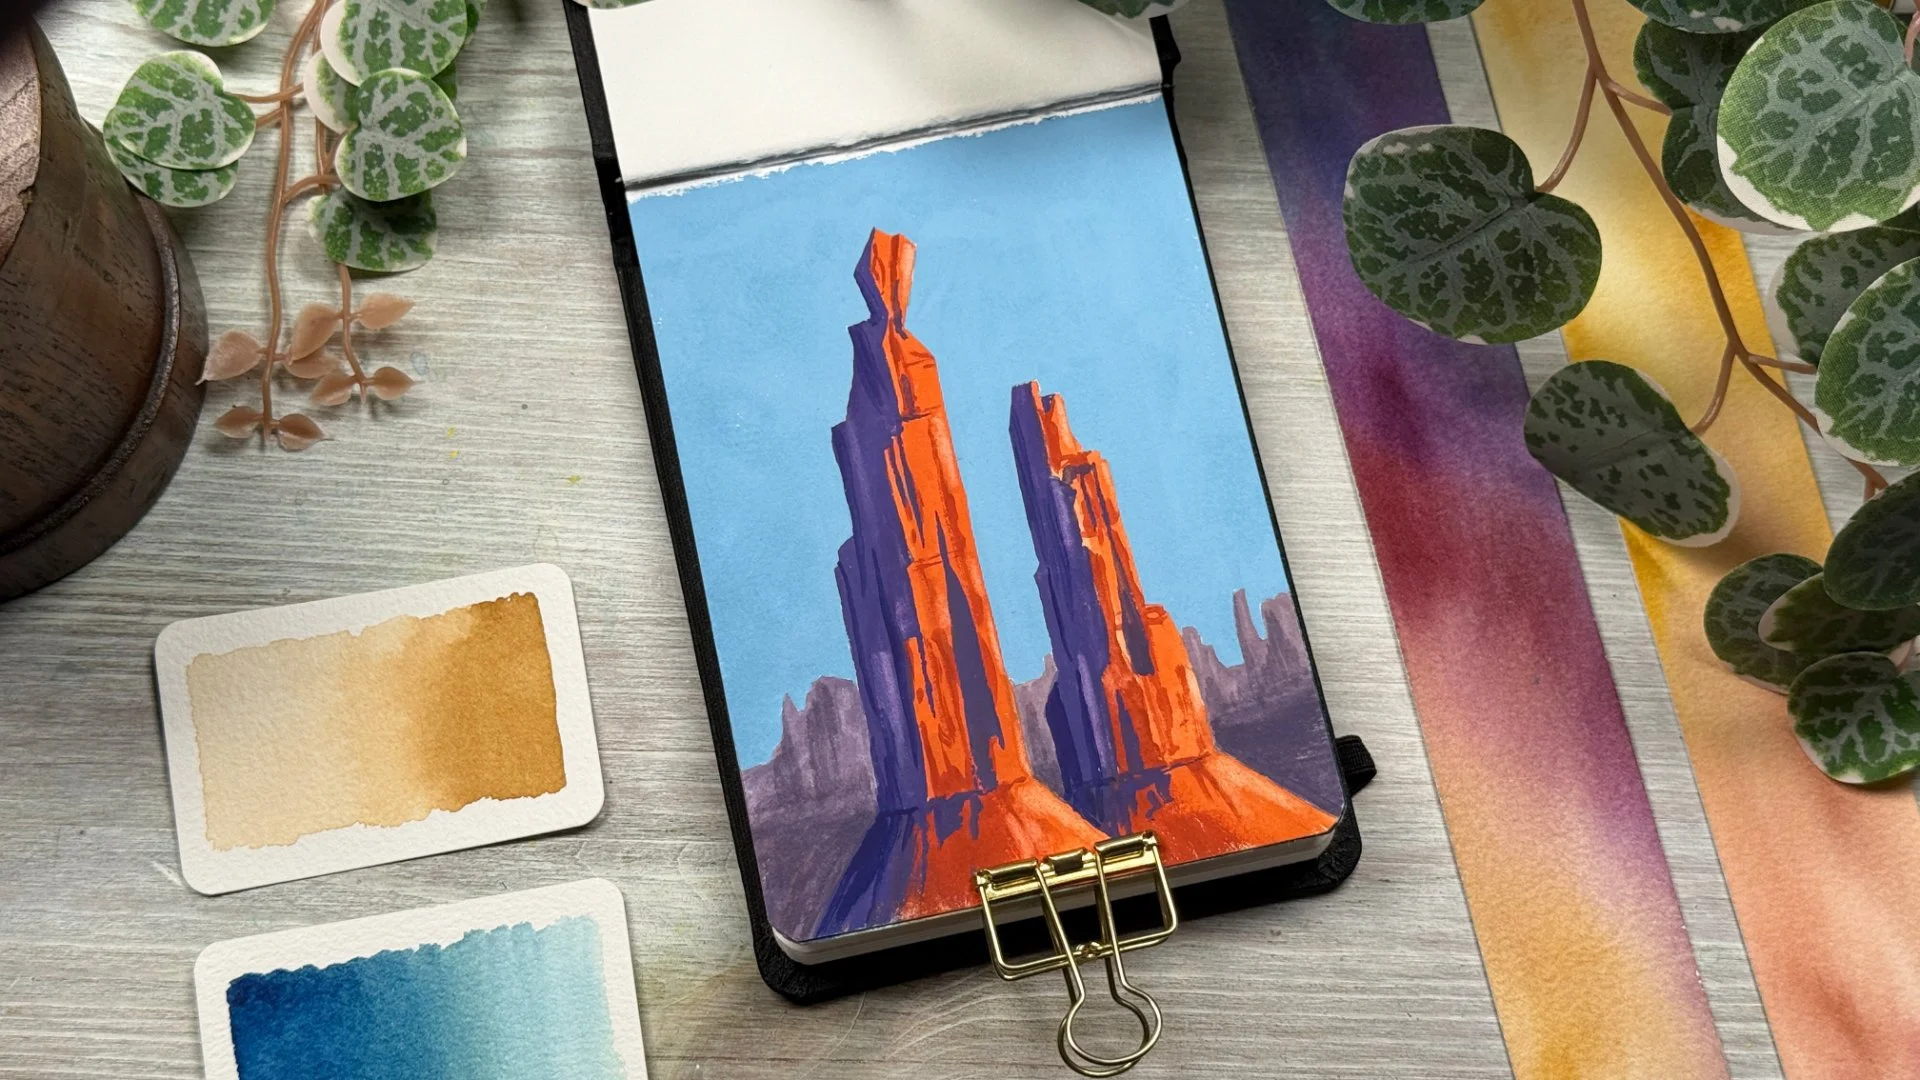
This month inside Get Gouachey, we’re exploring those quiet in-between places through a series of step-by-step gouache painting tutorials, focusing on light, reflections, and soft atmospheric glow.